6.5 KiB
title: Install Canoeboot on Intel D945GCLF and/or D945GCLF2 x-toc-enable: true ...
This guide is for those who want Canoeboot on their Intel D945GCLF motherboard while they still have the original BIOS present.
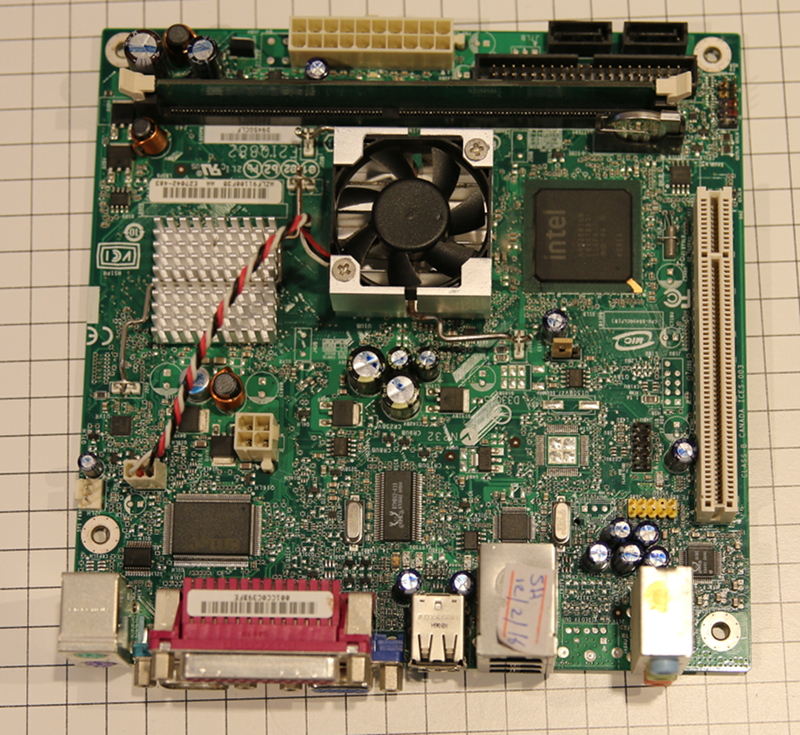

| Specifications | |
|---|---|
| Manufacturer | Intel |
| Name | D945GCLF/D945GCLF2D |
| Released | 2008 |
| Chipset | Intel Calistoga 945GC |
| CPU | Intel Atom |
| Graphics | ? |
| Display | None. |
| Memory | Up to 2GB |
| Architecture | x86_64 |
| Original boot firmware | Intel BIOS |
| Intel ME/AMD PSP | Not present. |
| Flash chip | SOIC-8 512KiB |
W+: Works without vendor firmware;
N: Doesn't work;
W*: Works with vendor firmware;
U: Untested;
P+: Partially works;
P*: Partially works with vendor firmware
| Features | Notes | |
|---|---|---|
| Internal flashing with original boot firmware | N | |
| Display | - | |
| Audio | W+ | |
| RAM Init | W+ | |
| External output | W+ | |
| Display brightness | - |
| Payloads supported | |
|---|---|
| GRUB | Doesn't work |
| SeaBIOS | Works |
| SeaBIOS with GRUB | Doesn't work |
Open source BIOS/UEFI firmware
This document will teach you how to install Canoeboot, on your Intel D945GCLF and/or D945GCLF2 desktop motherboard. Canoeboot is a Free Software project that replaces proprietary BIOS/UEFI firmware.
If you just want flashing instructions, go to ../install/d945gclf.md
D945GCLF2D also reported working by a user.
Introduction
This board is a mini-itx desktop board for 2008. It uses an atom 230, which is a singe core CPU but it is hyperthreaded so it appears to have 2 thread to the OS. The flash chip is very small, 512KiB, so grub2 does not fit, which is why Canoeboot has to use seabios on this target. Full disk encryption like on other supported targets will not be possible, so plan accordingly.
This board has a 945gc chipset which is the desktop equivalent of 945gm which can be found in the Lenovo x60/t60 or macbook2,1. This chipset features an ICH7 southbridge. It has 1 DIMM slot that can accommodate up to 2G of DDR2 RAM.
Connectivity-wise it has 1 PCI slot, a 10/100 ethernet port, 4 usb slot and 4 usb ports, with one internal header and 2 SATA ports.
The D945GCLF2 is an upgraded version of this board. The differences are: 1 more USB header, 10/100/1000 ethernet and a dual core cpu (also hyperthreaded). Since the board is almost identical (and coreboot code seem to indicate that it works, since MAX_CPU=4 is set), it is believed that it should also work but this is untested.
Remarks about vendor bios:
-
Without Canoeboot or Libreboot this board is completely useless, since the vendor bios is very bad. It cannot boot from any HDD whether it is connected to the SATA port or USB. With Canoeboot it works just fine.
-
The vendor bios write protects the flash so it requires external flashing to install Canoeboot on this device. Once Canoeboot is flashed there is no problem to update the firmware internally
Here is an image of the board:

Here is an image of the D945GCLF2 board:
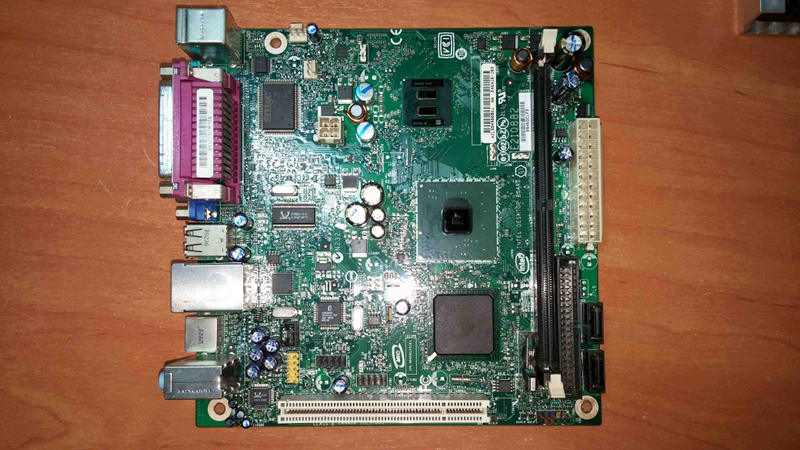 {width="80%" height="80%"}
And SPI SOIC8 flash chip
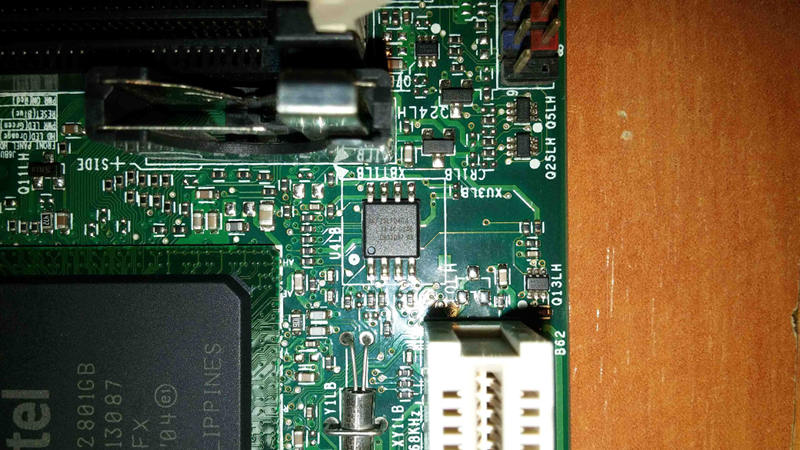 {width="50%" height="50%"}
Flashing instructions
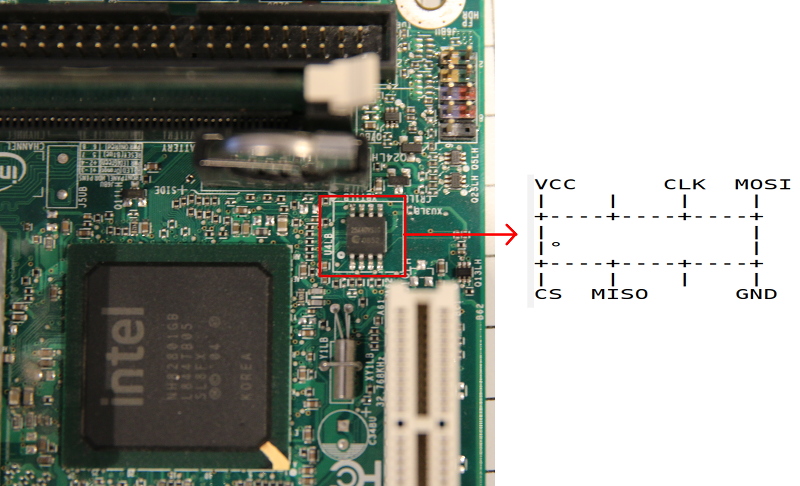
Refer to spi.md for how to re-flash externally.
Here is an image of the flash chip:
How to replace thermal paste and fan
This board comes with very crappy disposable loud fan, that one has no
bearings, which can not be repaired or oiled properly, do not waste your
time trying to fix it, just buy one chinese same size fan
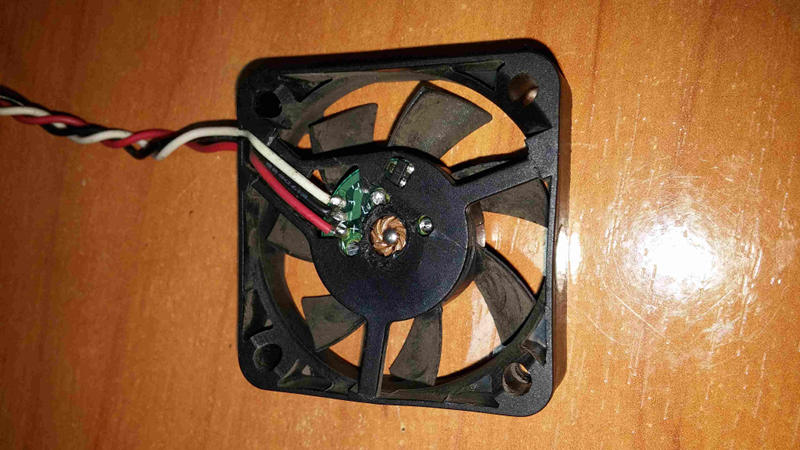 {width="50%" height="50%"}
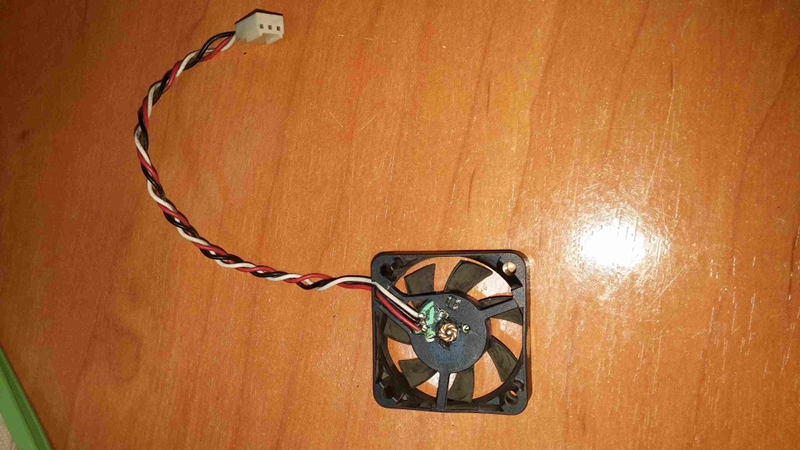 {width="50%" height="50%"}
Make sure that new one has same wiring
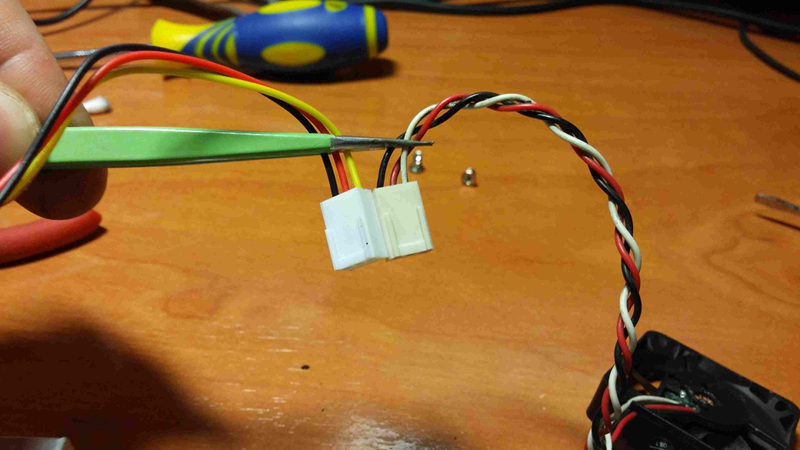 {width="50%" height="50%"}
This is a new one, with bearing and maintenable
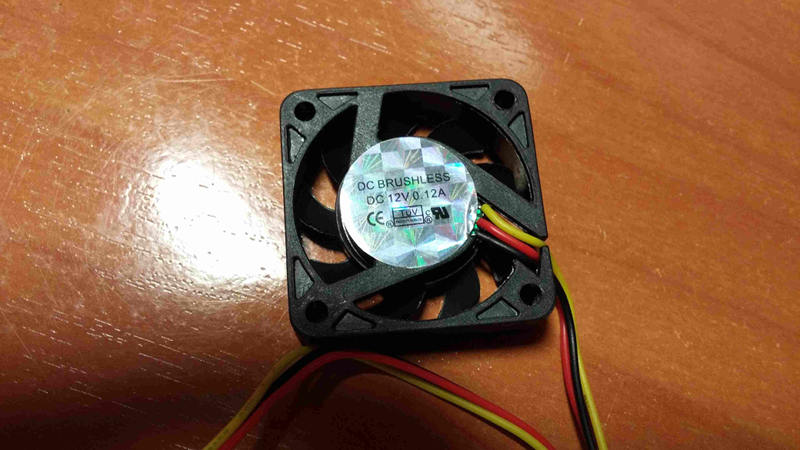 {width="50%" height="50%"}
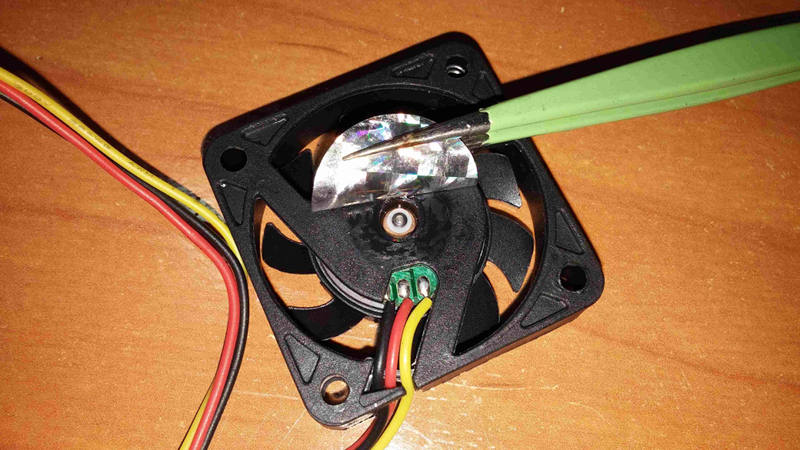 {width="50%" height="50%"}
Now remove the both coolers rotating them a bit, slowly, then clean both
silicons and both coolers (removing cmos battery first is recommended)
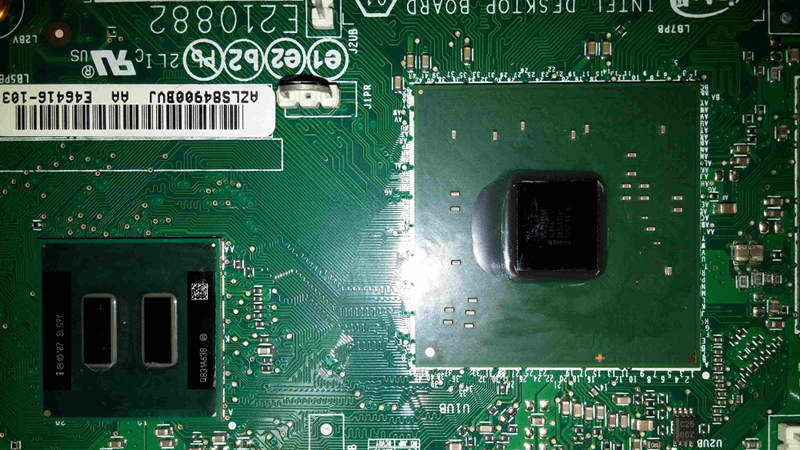 {width="50%" height="50%"}
Put a little bit of non conductive thermal paste on both silicons (only
cpu silicon iis shown on that image)
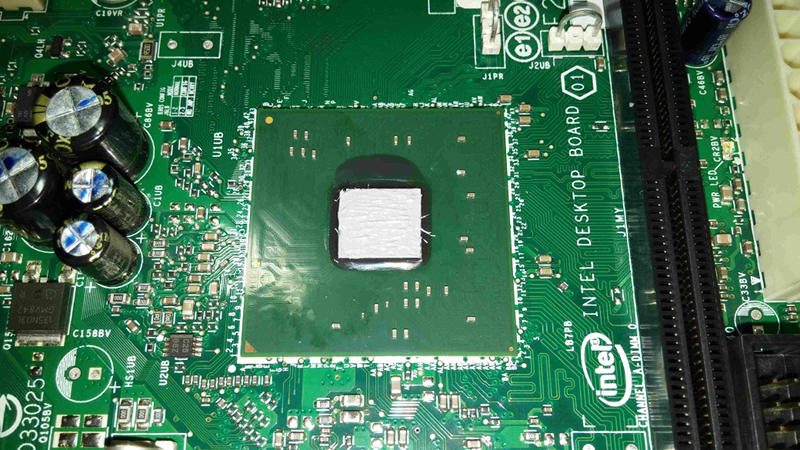 {width="50%" height="50%"}\
Before assembling new fan, some need new longer screws, make sure having
these (on the left is original one, too short for new fan)
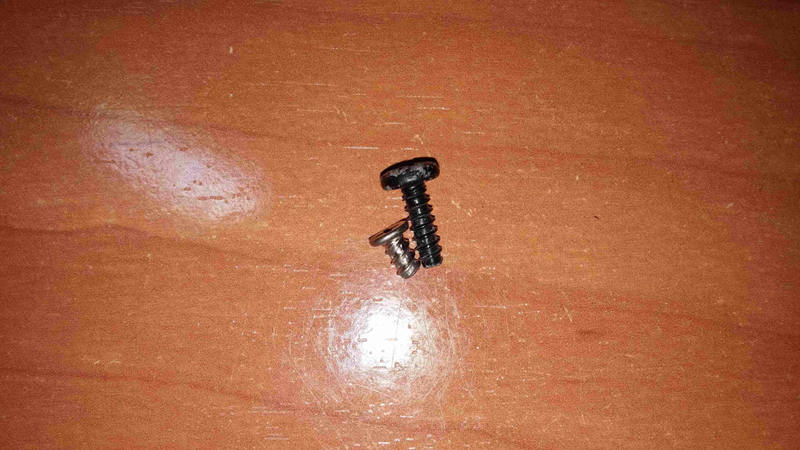 {width="50%" height="50%"}
After that, assemble your new fan into CPU cooler
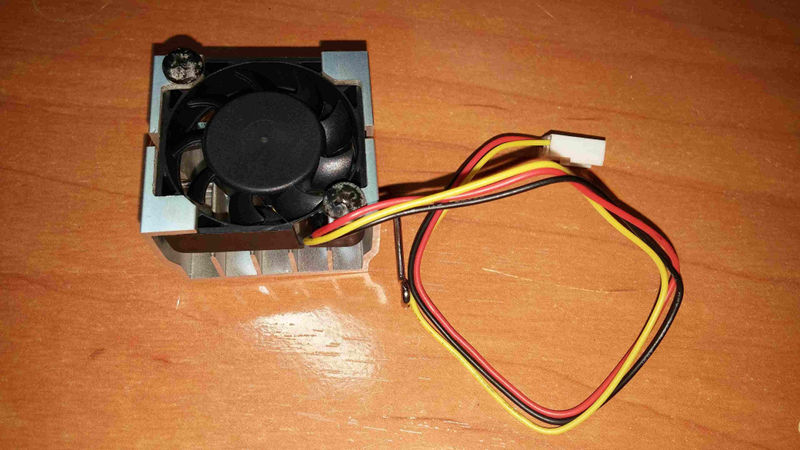 {width="50%" height="50%"}
Finally assemle both coolers on both chips, do not forget put in the CPU
fan connector back, and you are done.